In this tutorial, I am going to show you how to execute long running PHP processes sequentially in October CMS from anywhere of your code.
First, you must define a default driver, which is pretty much a handler for managing how to run a queued job, identifying whether the jobs succeeded or failed, and trying the job again. In October CMS, the driver settings are located in the file in ./config/queue.php.
1 2 3 4 5 6 7 8 9 10 11 12 13 14 15 16 17 18 19 |
<?php return [ /* |------------------------------------------------------------------------- | Default Queue Driver |------------------------------------------------------------------------- | | The Laravel queue API supports a variety of back-ends via an unified | API, giving you convenient access to each back-end using the same | syntax for each one. Here you may set the default queue driver. | | Supported: "null", "sync", "database", "beanstalkd", | "sqs", "iron", "redis" | */ 'default' => 'database', |
If you are new to this, I recommend to start with the database driver. This driver is good enough to execute your console commands synchronously in the background without slowing down your PHP calls. As a next step, you have to register a custom console command in your Plugin.php file. For example company.pluginname.
|
|
/** * Register console commands */ public function register() { $this->registerConsoleCommand('company.pluginname', 'Company\Pluginname\Console\Test'); } |
For test purposes, I created a console command company.pluginname which will execute the method backupList.
|
|
bash-4.4# php artisan company:pluginname 123 --customer=list Parameter ID 123 passed. |
1 2 3 4 5 6 7 8 9 10 11 12 13 14 15 16 17 18 19 20 21 22 23 24 25 26 27 28 29 30 31 32 33 34 35 36 37 38 39 40 41 42 43 44 45 46 47 48 49 50 51 52 53 54 55 56 57 58 59 60 61 62 63 64 65 66 67 68 69 70 71 72 73 74 75 |
<?php namespace Company\Pluginname\Console; use Illuminate\Console\Command; use Symfony\Component\Console\Input\InputOption; use Symfony\Component\Console\Input\InputArgument; class Test extends Command { /** * @var string The console command name. */ protected $name = 'company:pluginname'; /** * @var int */ protected $customerId = 0; /** * @var string */ protected $description = 'No description provided yet...'; /** * */ public function backupList() { $this->output->writeln(sprintf('Parameter ID %s passed.', $this->customerId)); // Call API // Compress response and save on disk // Write information into Log table } /** * Execute the console command. * @return void */ public function handle() { $this->customerId = $this->argument('customerId'); $option = $this->option('customer'); $args = explode(',', $option); if (in_array('list', $args)) { $this->backupList(); } } /** * Get the console command arguments. * @return array */ protected function getArguments() { return [ ['customerId', InputArgument::REQUIRED, '(Required) Customer Id'] ]; } /** * Get the console command options. * @return array */ protected function getOptions() { return [ ['customer', null, InputOption::VALUE_REQUIRED, 'An example option.', null], ['queue', null, InputOption::VALUE_OPTIONAL, 'An example option.', null] ]; } } |
Let’s assume you have a front-end controller http://yourpage.dev/customer/list that calls an API, creates a list and saves it on disk. Executing all these steps can be time-consuming and simply slow down your controller. Instead, you can run such processes in the background with Artisan::queue.
|
|
<?php namespace Company\Pluginname\Controllers; use Illuminate\Routing\Controller; use Illuminate\Support\Facades\Artisan; class Customer extends Controller { public function list($id) { Artisan::queue('company:pluginname', [ 'customerId' => 123, '--customer' => 'list', '--queue' => 'default' ]); } } |
As soon as you hit the controller, artisan will queue a new record in the table jobs and wait until a queue worker executes the job. You just have to make sure that a Queue Worker is running in the background, otherwise jobs won’t get executed.
|
|
bash-4.4# php artisan queue:work --tries=3 [2020-04-14 04:11:52] Processing: Illuminate\Foundation\Console\QueuedCommand [2020-04-14 04:11:54] Processed: Illuminate\Foundation\Console\QueuedCommand [2020-04-14 04:11:54] Processing: Illuminate\Foundation\Console\QueuedCommand [2020-04-14 04:11:55] Processed: Illuminate\Foundation\Console\QueuedCommand [2020-04-14 04:11:55] Processing: Illuminate\Foundation\Console\QueuedCommand [2020-04-14 04:12:14] Processed: Illuminate\Foundation\Console\QueuedCommand |
I recommend to start a queue worker with Supervisor which is well explained on https://medium.com/@rohit_shirke/configuring-supervisor-for-laravel-queues-81e555e550c6

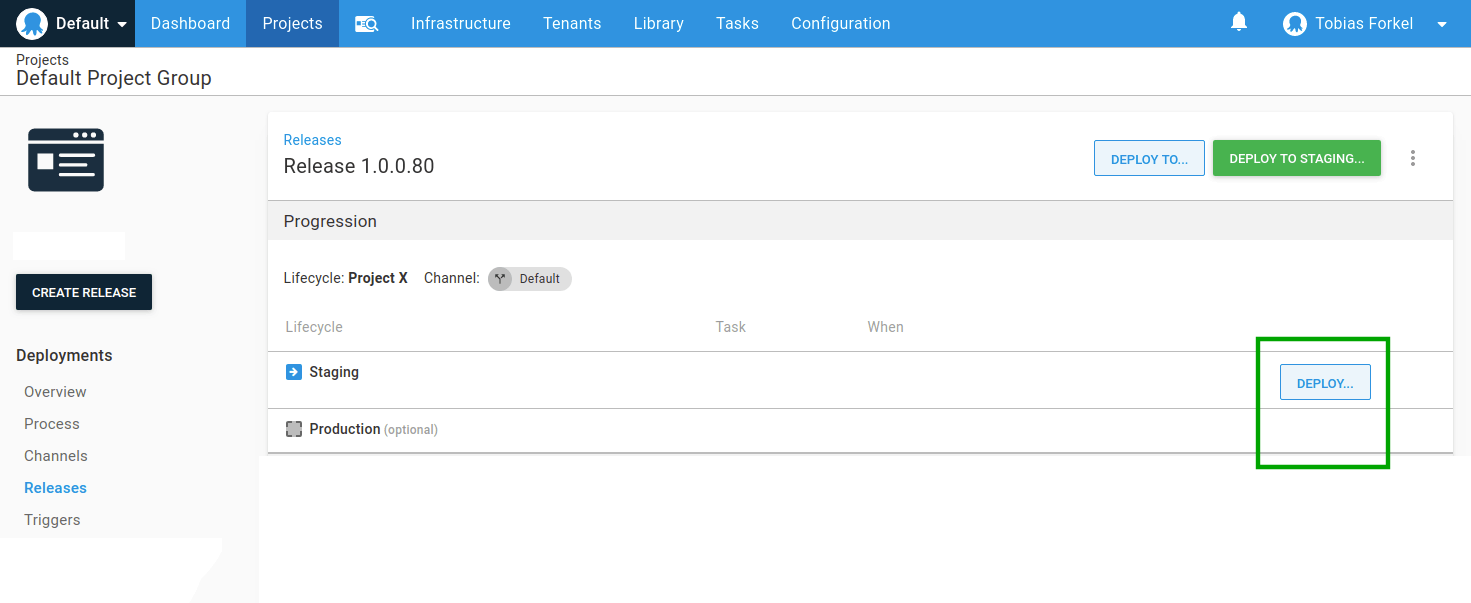 This is just one of many examples of how you can improve your deployment routine with Octopus.
